Half French Twist Step by Step Tutorial
The half french twist (pictured above) is more than likely my most worn style whenever I need something a little bit chic and fancy. It’s easy, can wo
- 2 min read
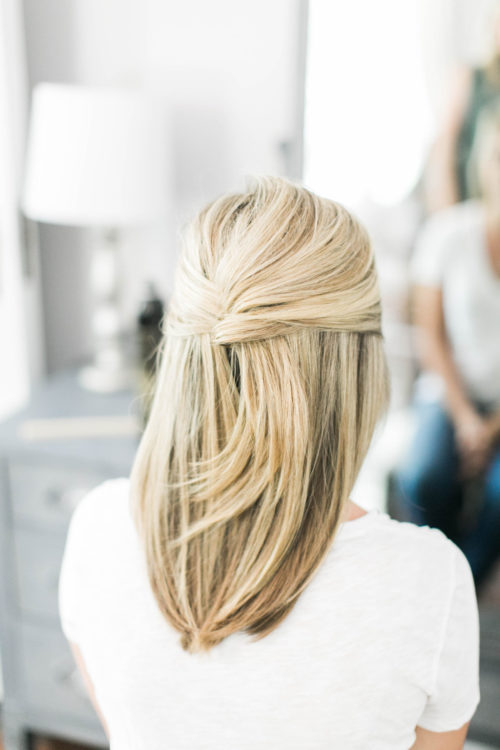

The half french twist (pictured above) is more than likely my most worn style whenever I need something a little bit chic and fancy. It’s easy, can work perfectly on any texture or hair thickness, and once you master hiding the bobby pins, it will look like hair art.
You may have heard of this style before because I originally shared it back in 2011! And I wore my hair like this on my wedding day too, so it’s been a favorite for a long time & for many different reasons!
Whether your hair is straight or curly, using a bit of texture spray will help give your hair a bit of hold when you pull it back. And the right bobby pins make all the difference, so get yourself some of these immediately!
To start, section off hair from in front of your ear on the side you part on. You can see through the section I’m working with, and that is okay if it’s that thin. Just soften the hair afterwards to cover any of the areas that you can see through. But the point, though, is to take as thin of a section as you can without being able to see through too much.
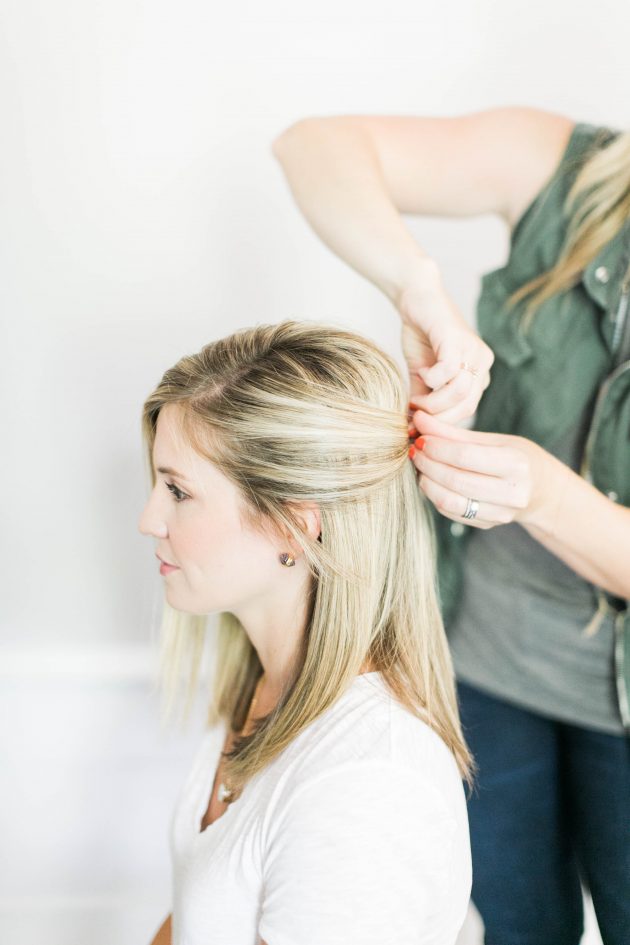
Pull that section around to the back and insert two bobby pins, zig zag side down, vertically.
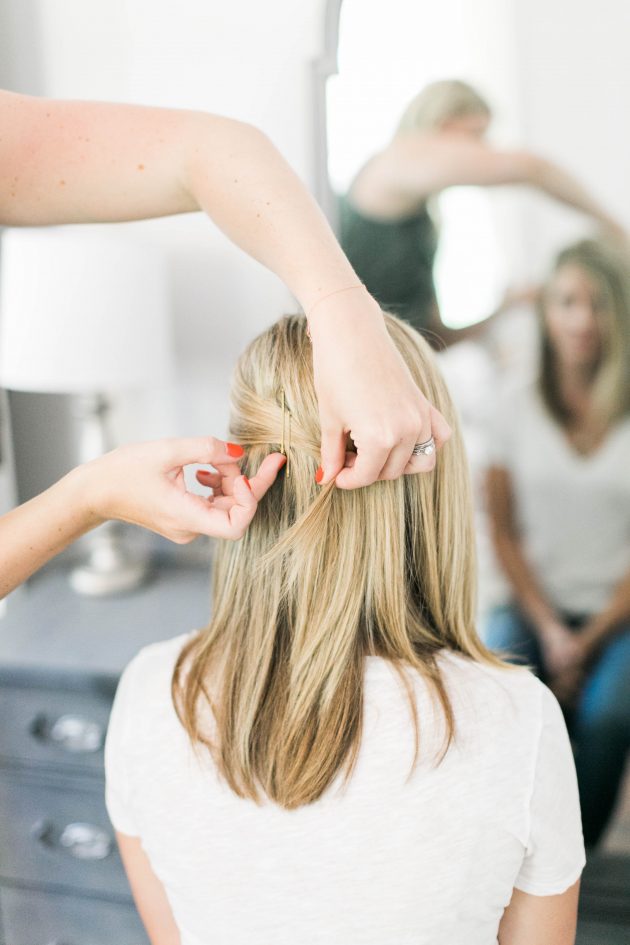
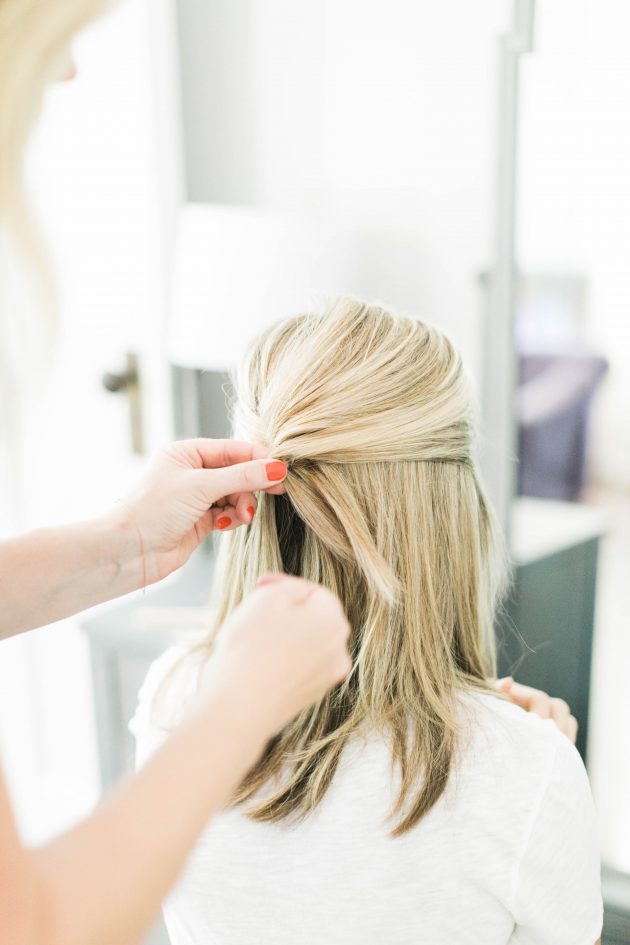
Next, starting near the crown, pull another thin section towards the bobby pins you just inserted, fold over your finger, and then slip a bobby pin into the fold. You’ll repeat this motion a few times until you get to the front of the hairline.
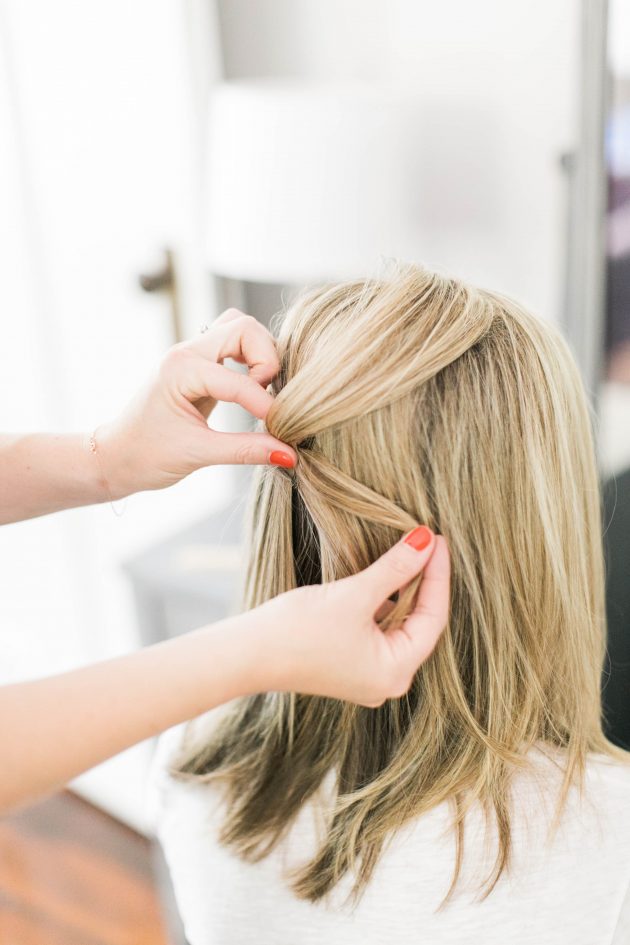
The bobby pins should be inserted right where your thumb and pointer finger are holding the section.
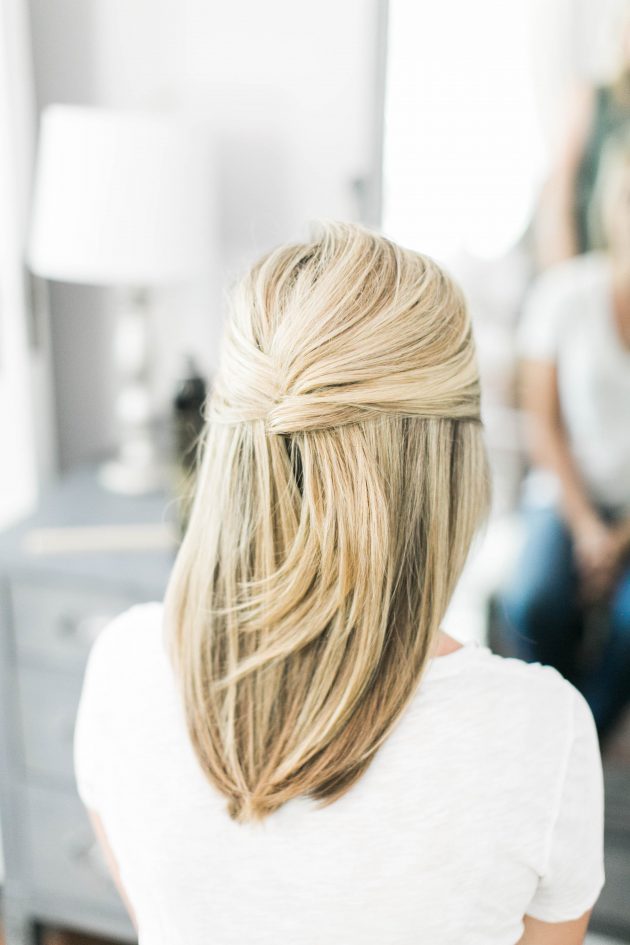
Finish with a bit of hairspray and you are all set! I really love this look on straight hair but it would also look fantastic on natural curly hair too!
Share your photos of the half french twist on Instagram using #smallthingshair !
- Tags:
- Hairstyles